For all of you over here visiting from
Thrifty Decor Chick, Welcome! Let me first take a moment and thank Sarah over at TDC. Hers was the first "design blog" I ever ran across (from a linky party at a non-design mommy blog). I was flabbergasted!!! THERE ARE MORE PEOPLE IN THE WORLD LIKE ME!!! People who, with a little elbow grease, a little creativity, tiny budgets, some spray paint and moulding try to make their homes beautiful. From her blog I found several others and became ADDICTED.
You'll see many of Sarah's touches in my home as well as other ideas inspired by other blogs. Seeing other people's creativity and ideas has made my home more beautiful - and I started this blog a short time ago hoping that I might be able to inspire someone with my ideas as well.
My husband and I have flipped three other homes, but we decided to settle in this one because we are now a family of three with the addition of our perfect baby boy (well four if you count our daughter-dog).
DISCLAIMER: We have only been in the house for under
2 months. There is A LOT of work left to do!!
Entryway:

before

after
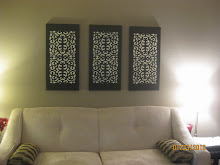
You can see how I created my wall art
here, but if you're a loyal follower of TDC, you already know!
Front Living Room

before

after

Before

After

Before

after
Living / Dining Combo

Before
don't you just love the use of orangy wood and gallons and gallons of poly?

After

Before

After
Okay, I don't know why my sectional looks purple in photos. I really have to upgrade my camera situation, because these pictures are really bad.
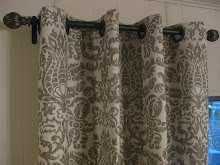
Tutorial on how to make those curtains soon. I literally just cut my fabric off the roll, used hem tape at the bottom, and cut holes and mashed together grommets at the top. Super easy, super cheap!
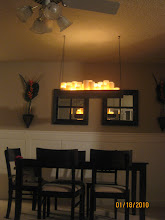
Dining

Before

After
Kitchen

Before

After

Before

After
it still needs some major work (and a new vent a hood), but at least you don't have to shield your eyes from the blindingly (is that a word?) shiny orangy-oak cabinets.
On the list is to get a new backsplash. I will discuss my backsplash disaster and why there is a baseboard on my countertop in a future post.

Before

After
Thanks, Sarah for the genious idea of covering your bar area with beadboard! Although, mine is the cheapy panels instead of the real stuff.
Nursery

Before

After
Stay tuned for future posts about how I made those floating shelves (and frames) for under $10
and how I made that collection of framed animal prints for under $20 (including frames)
Master Bedroom

Before

After

See... beadboard
Thanks Sarah, for inviting us to your party! I can't wait to see what others have done.